Start with a clean, dry beard
A beard is easier to shape when you can see how it normally sits. Wash it if needed, then let it dry fully and comb it in the direction it grows. Damp hair can lie flatter and appear longer than it will once dry, making it easy to take off more than you intended.
Set out a beard trimmer with guards, a comb, a mirror, and, if you want crisp edges, a detail trimmer or razor. Good lighting matters more than an elaborate tool kit: you need to see both sides of your face clearly. Before cutting, decide whether you want a close, neat beard or a fuller, softer shape. That choice should guide how much length you remove and how sharp you make the borders.
Trim the length before drawing the lines
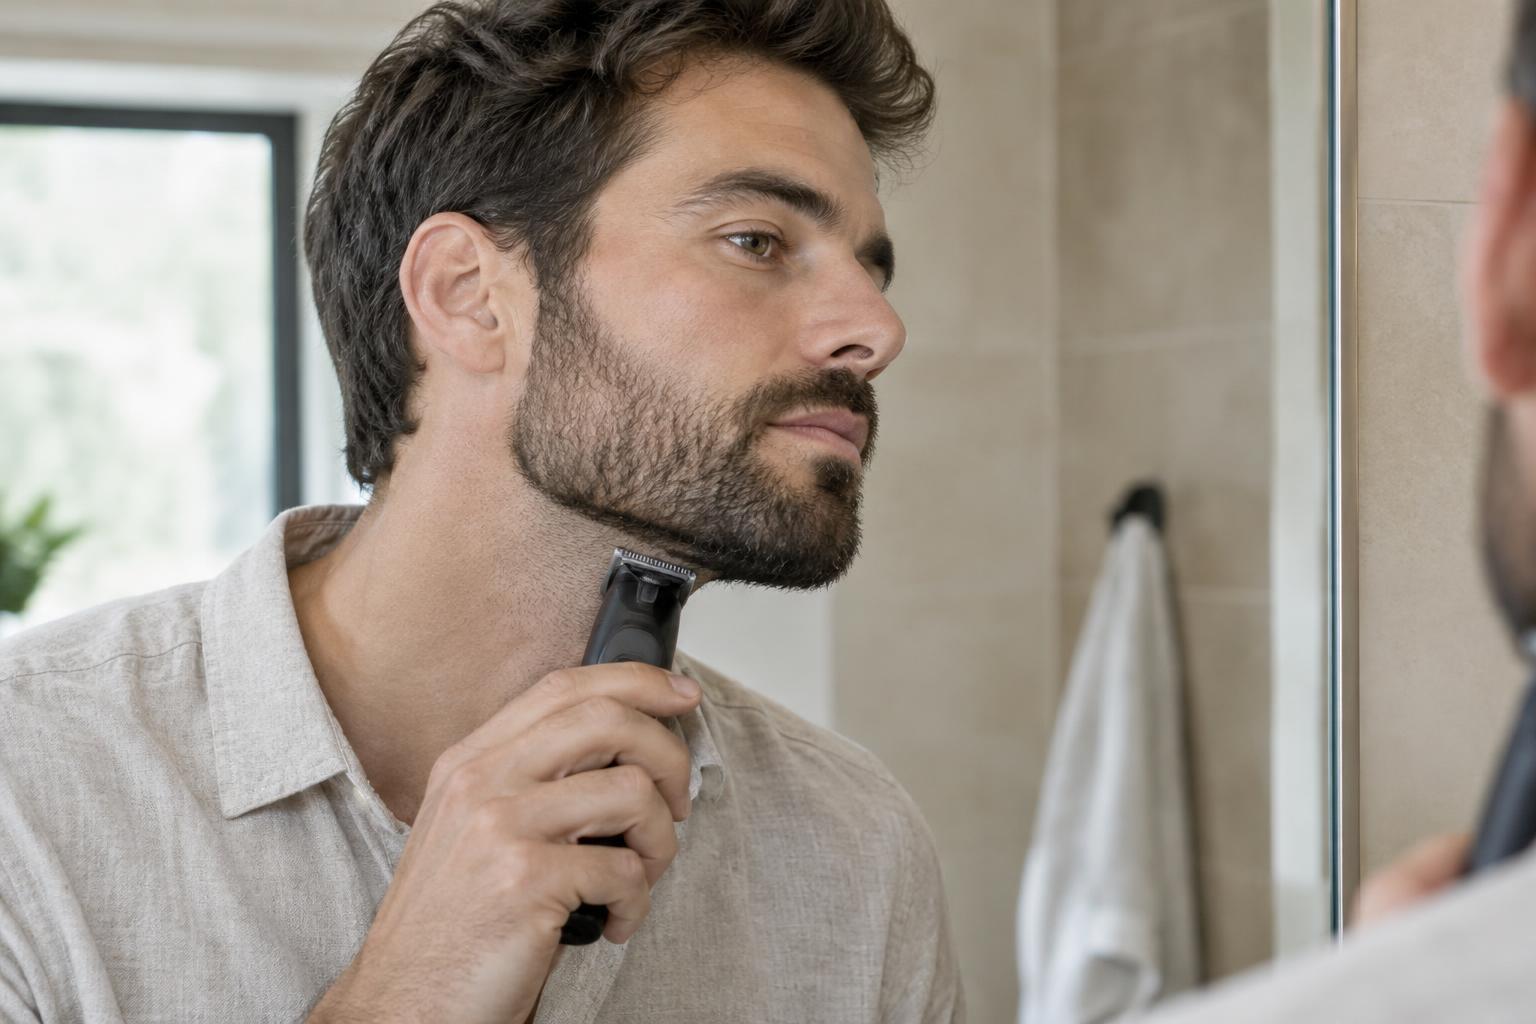
Begin with a guard longer than you think you need. Run the trimmer lightly over the beard, following the direction of growth for a conservative first pass. Comb through it, check the result, and move to a shorter guard only if you want less bulk. Taking length off in stages gives you room to correct uneven areas.
Work around the jaw and under the chin as well as the cheeks. These areas may grow at different densities, so one guard setting will not always give the same visual result everywhere. If the beard looks heavy under the chin, reduce that bulk a little at a time rather than cutting a hollow into it. Use scissors or a detail trimmer for individual hairs that stick out, and check your face straight on and in profile before moving to the edges.
Keep the cheek line close to natural
The cheek line is the upper edge of the beard between the sideburn and the moustache. For most beards, the safest approach is to preserve the natural line and remove only scattered hairs above it. This keeps the beard looking full and avoids a border that appears drawn on or too low.
If you want a more defined edge, imagine a gentle line from the sideburn toward the outer corner of the moustache. It can be fairly straight or slightly curved, depending on your growth pattern and the look you prefer. Mark the shape visually before shaving, then clear hairs above it with short, careful strokes. Do one side, step back, and compare before shaping the other. Aim for balance rather than forcing perfect symmetry where your hair grows differently.
Place the neckline under the jaw, not on it
A neckline separates the beard from the neck and gives the jaw a cleaner outline. Shaving directly along the edge of the jaw often sets it too high, especially when viewed from the side. Instead, look straight ahead with your head in a relaxed position. A useful starting point is roughly one or two finger widths above the Adam’s apple, adjusted for your neck length and beard style.
From that center point, picture a shallow curve rising toward the area just behind each jaw corner. The beard should still cover the underside of the jaw. Trim or shave below the curve, then inspect it from the front and both sides. If you are unsure, start lower: you can raise the line gradually, but you cannot replace hair removed too high. A softer neckline may suit a longer beard, while a shorter beard can carry a slightly cleaner edge.
Finish carefully and maintain the shape
Clear loose clippings and check for patches you missed. Tidy the moustache where it crosses the upper lip, if needed, without automatically shortening the rest of it. For a crisp border, use light pressure and shave only outside the lines you established. If your skin feels irritated, skip the close shave and use a detail trimmer instead.
Between full trims, a quick check of stray cheek and neck hairs can keep the shape looking deliberate. Let the beard itself tell you when it needs another length trim: once it loses its outline or starts to look uneven, repeat the gradual process. Keeping the same guard settings and noting where you placed the neckline can make the next trim simpler, while leaving you free to adjust the shape as your beard grows.