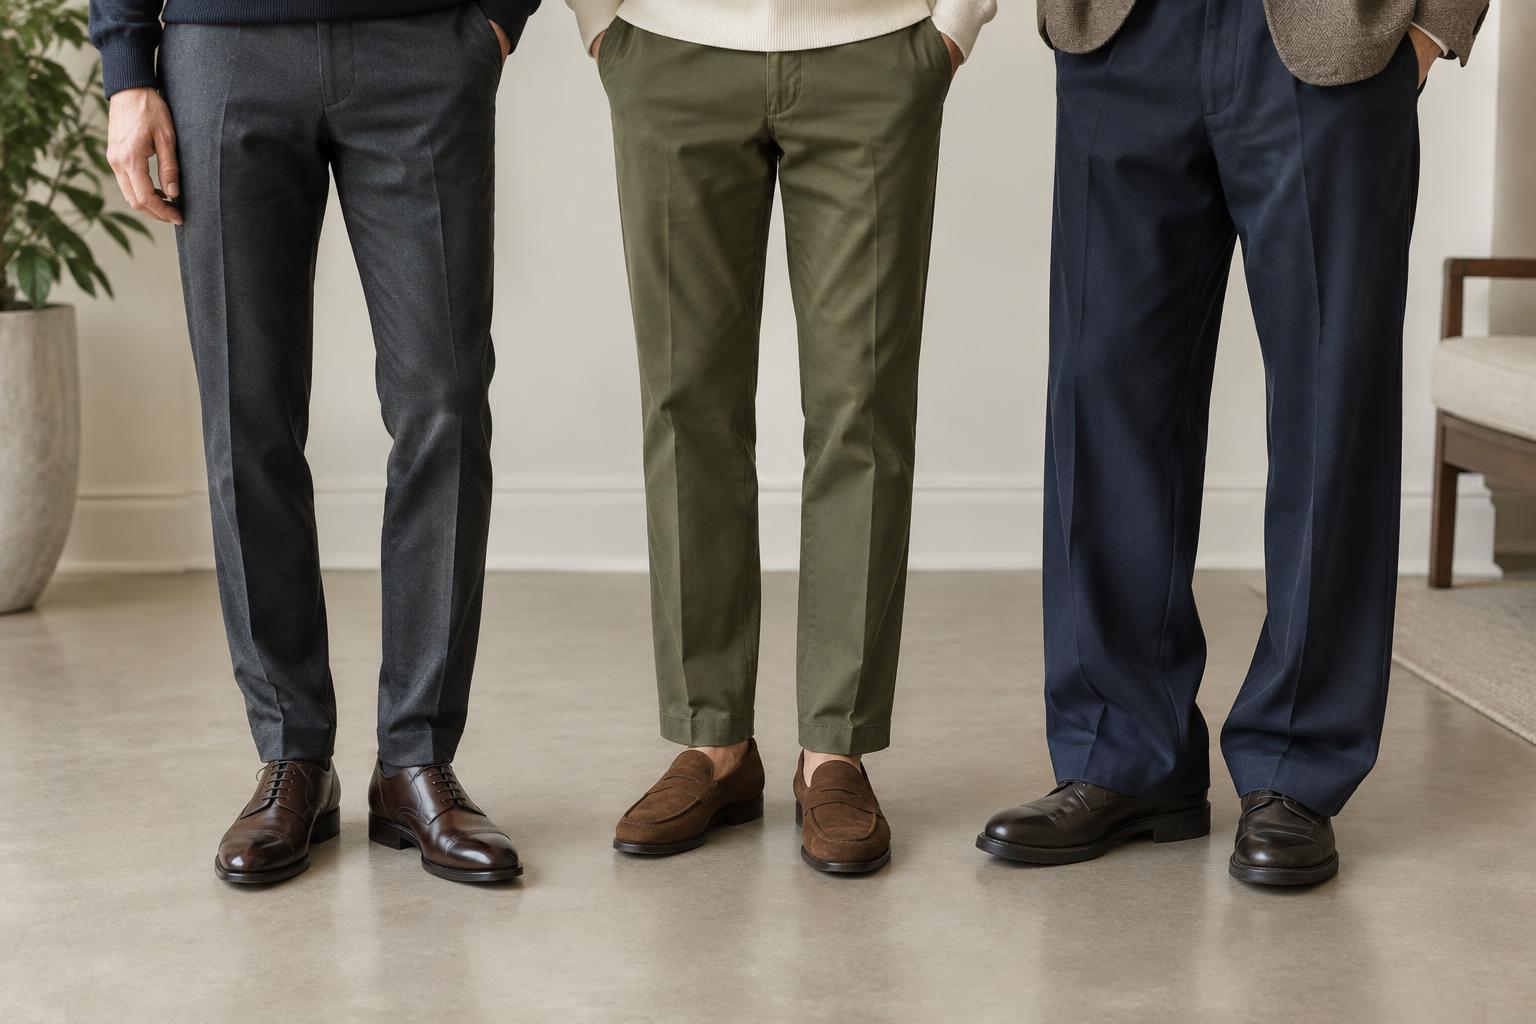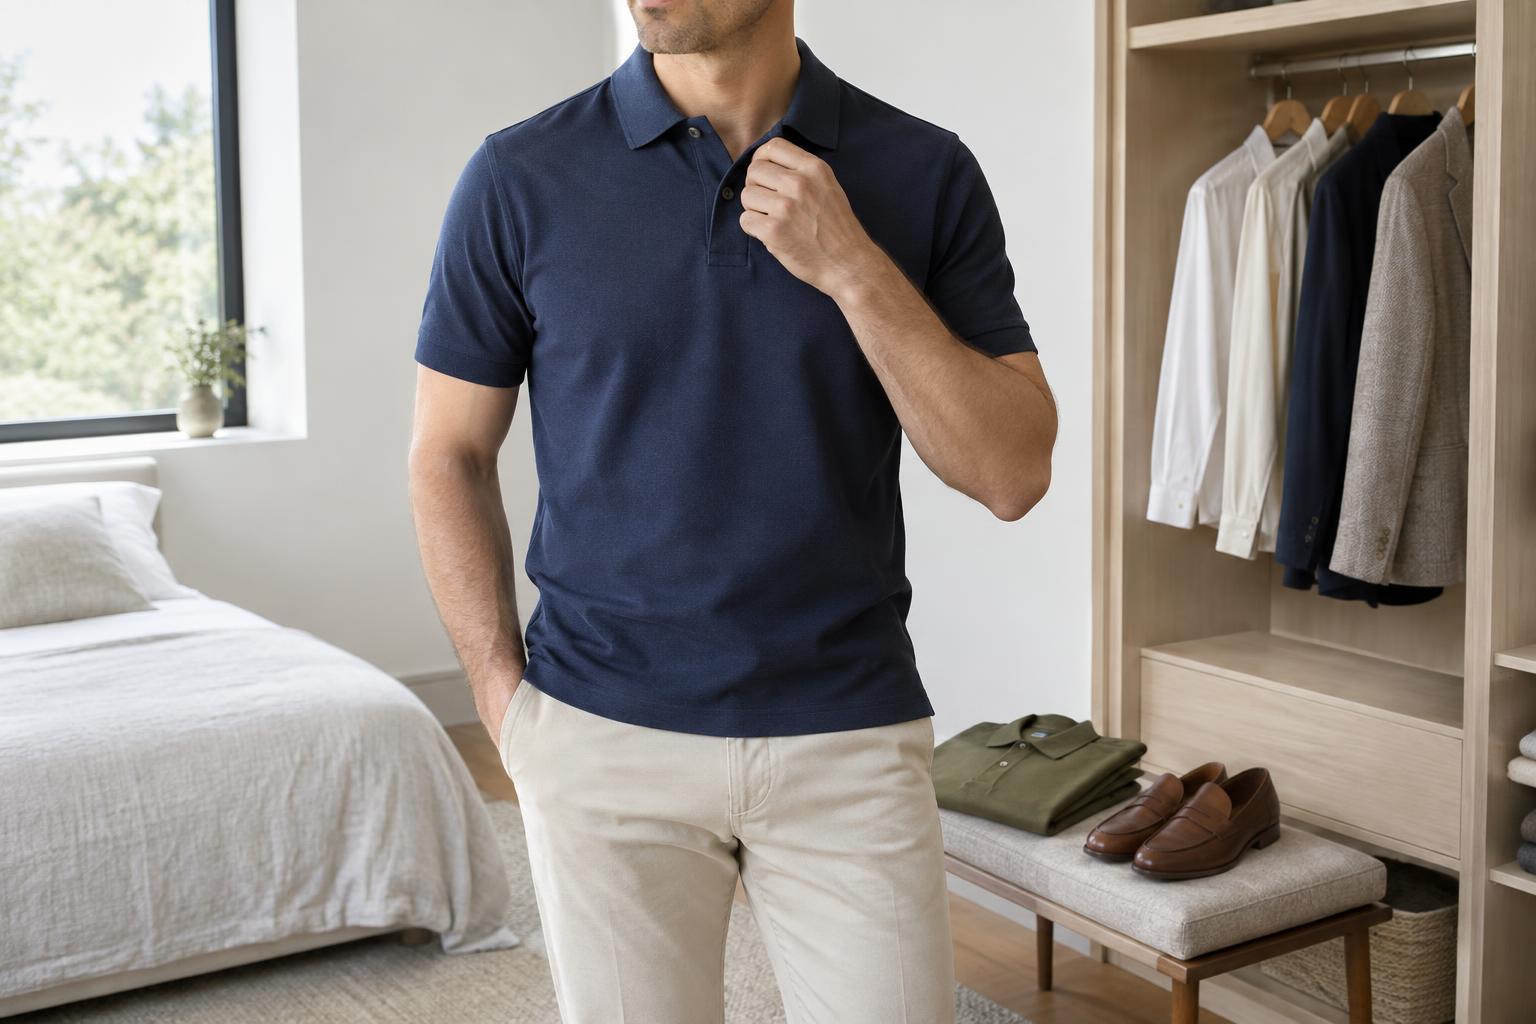
Start with the right tools and a consistent method
A size label cannot tell you everything about fit. Brands may use different measurements for the same letter or number, and two garments in the same size can have different shapes. Taking your own measurements gives you a reliable reference, especially when shopping online or trying a new brand.
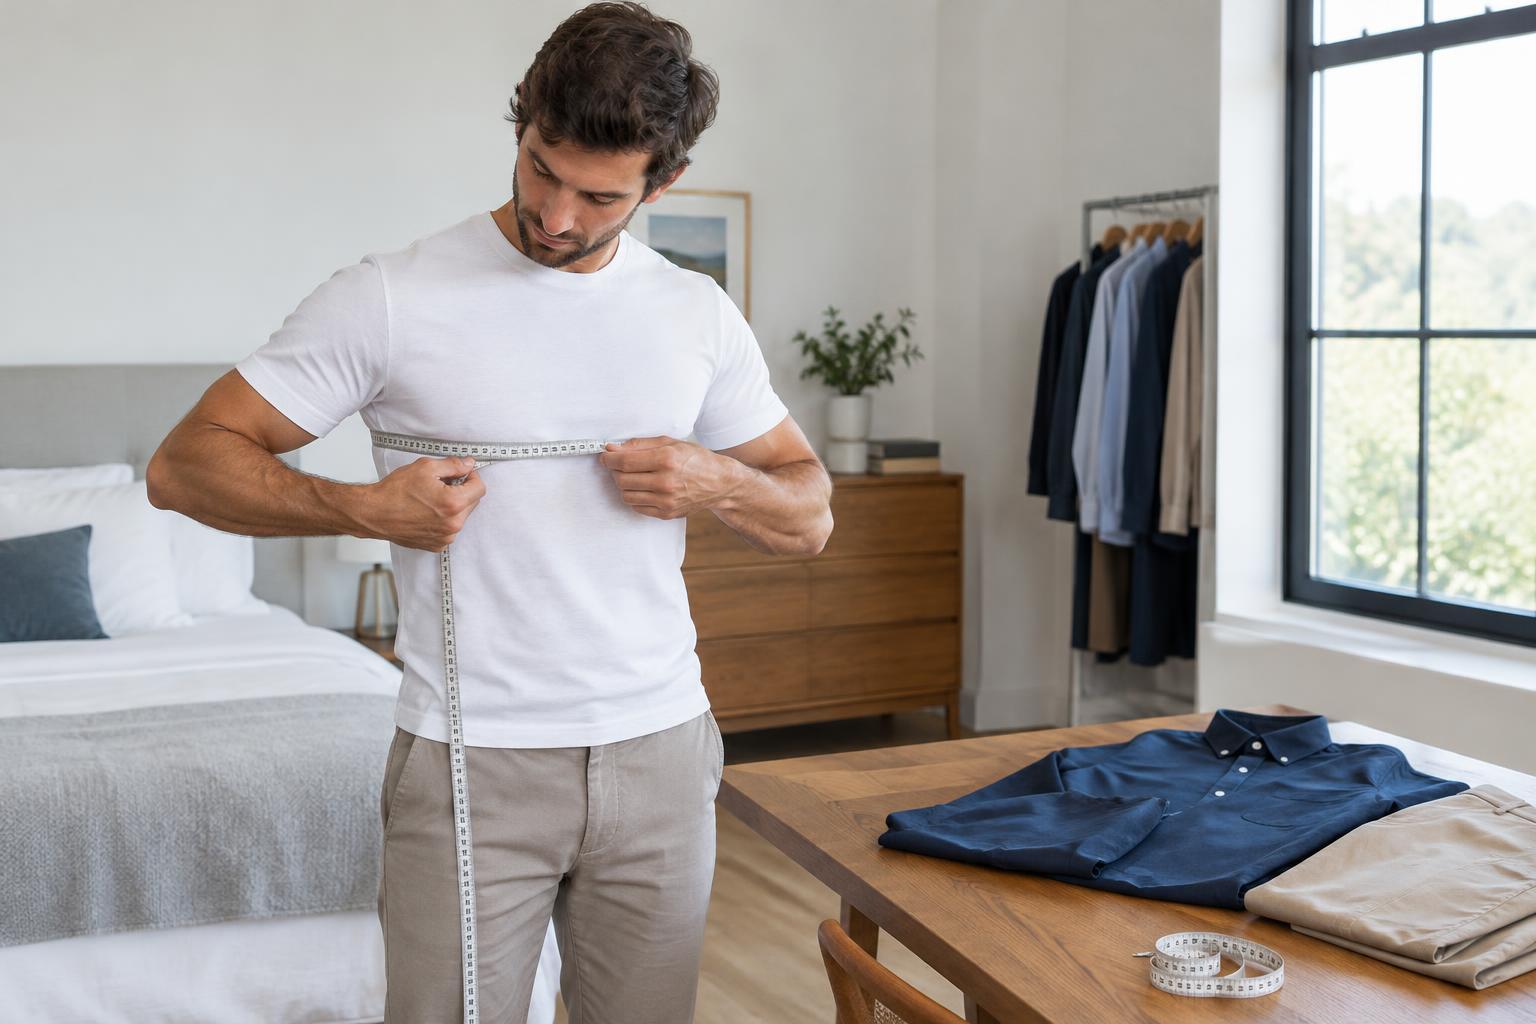
Use a flexible measuring tape and stand naturally in lightweight clothing. Keep the tape level and comfortably close to your body without pulling it tight. A mirror helps you check its position; another person can make shoulder and sleeve measurements easier. Record each result along with the unit used, then remeasure if the tape slipped or the number seems surprising. Avoid holding your stomach in or changing your posture to reach a preferred size.
Measure the areas that affect fit
For your chest, wrap the tape around the fullest part of your torso, under your arms, while keeping your arms relaxed. Measure your natural waist around the point where your torso bends when you lean to one side; this may sit above the waistband of your trousers. For trousers, also measure around the place where you actually wear your waistband. Measure your hips or seat around the fullest part of your lower body, keeping the tape horizontal.
For a shirt collar, measure around the base of your neck where the collar would sit, leaving enough room for comfort rather than tightening the tape against your skin. A shoulder measurement runs across your back from one shoulder point to the other. For sleeve length, follow the route specified by the brand if it provides one: some charts measure from the shoulder, while others start at the center back of the neck. Relax your arm and use the same method as the chart.
To find your inseam, measure from the crotch down the inside of your leg to the length you want your trousers to reach. It can be easier to measure a pair of trousers you already like, from the crotch seam to the hem. Note whether that figure describes your body or a garment: they are useful references, but they are not interchangeable.
Read the chart before choosing a size
Look for the chart attached to the specific item, not just a general size guide. First check whether it lists body measurements or finished garment measurements. A body chart suggests which size is intended for your proportions. A garment chart tells you the dimensions of the clothing itself, which usually needs some room beyond your body measurements for movement and the intended silhouette.
Next, match the relevant measurements to the item. Chest and shoulder fit often matter most for jackets and structured shirts; waist and seat matter for trousers. Check the units, since a chart in centimeters is easy to misread if your notes are in inches. If your measurements fall between sizes, consider which area is harder to alter and how you want the garment to fit. A larger size may provide room where you need it, but it can also add unwanted length or width elsewhere.
Size names such as slim, regular, and relaxed are descriptions, not universal standards. The product’s cut, fabric, and measurements are more informative than the label alone. A rigid woven fabric may feel less forgiving than a stretchy one with similar dimensions, while a bulky layer worn underneath a coat calls for more room than a thin shirt.
Use clothes you own as a second reference
Your best-fitting garments can help you interpret a chart, particularly when it lists finished dimensions. Lay a clean item flat without stretching it. Measure straight across the chest just below the armholes, across the waist where appropriate, and from the crotch seam to the hem for trousers. If the brand gives full circumferences, double a flat width before comparing it, unless the chart explains another method.
Choose a reference garment with a similar purpose and fabric. Comparing a casual overshirt with a tailored dress shirt may lead you astray because they are designed to fit differently. Make a note of what you would change about the garment you own: perhaps its chest feels right, but its sleeves are too long. Those observations make the numbers more useful than a size label by itself.
Check the final fit, not just the numbers
A chart helps narrow the choice, but it cannot show exactly how a garment sits on your body. When trying it on, move naturally: sit, reach forward, and raise your arms. Check for pulling at the chest or seat, a waistband that digs in, shoulders that extend farther than intended, and sleeves or hems that land awkwardly. Some length changes may be straightforward to tailor, while changing the shoulders or adding room to a tight garment is often more difficult.
Keep a short record of your measurements and the sizes that worked in particular brands and cuts. Update it when your body or fit preferences change. Over time, that combination of body measurements, garment measurements, and wear-tested notes will make size charts a practical tool rather than a guessing game.