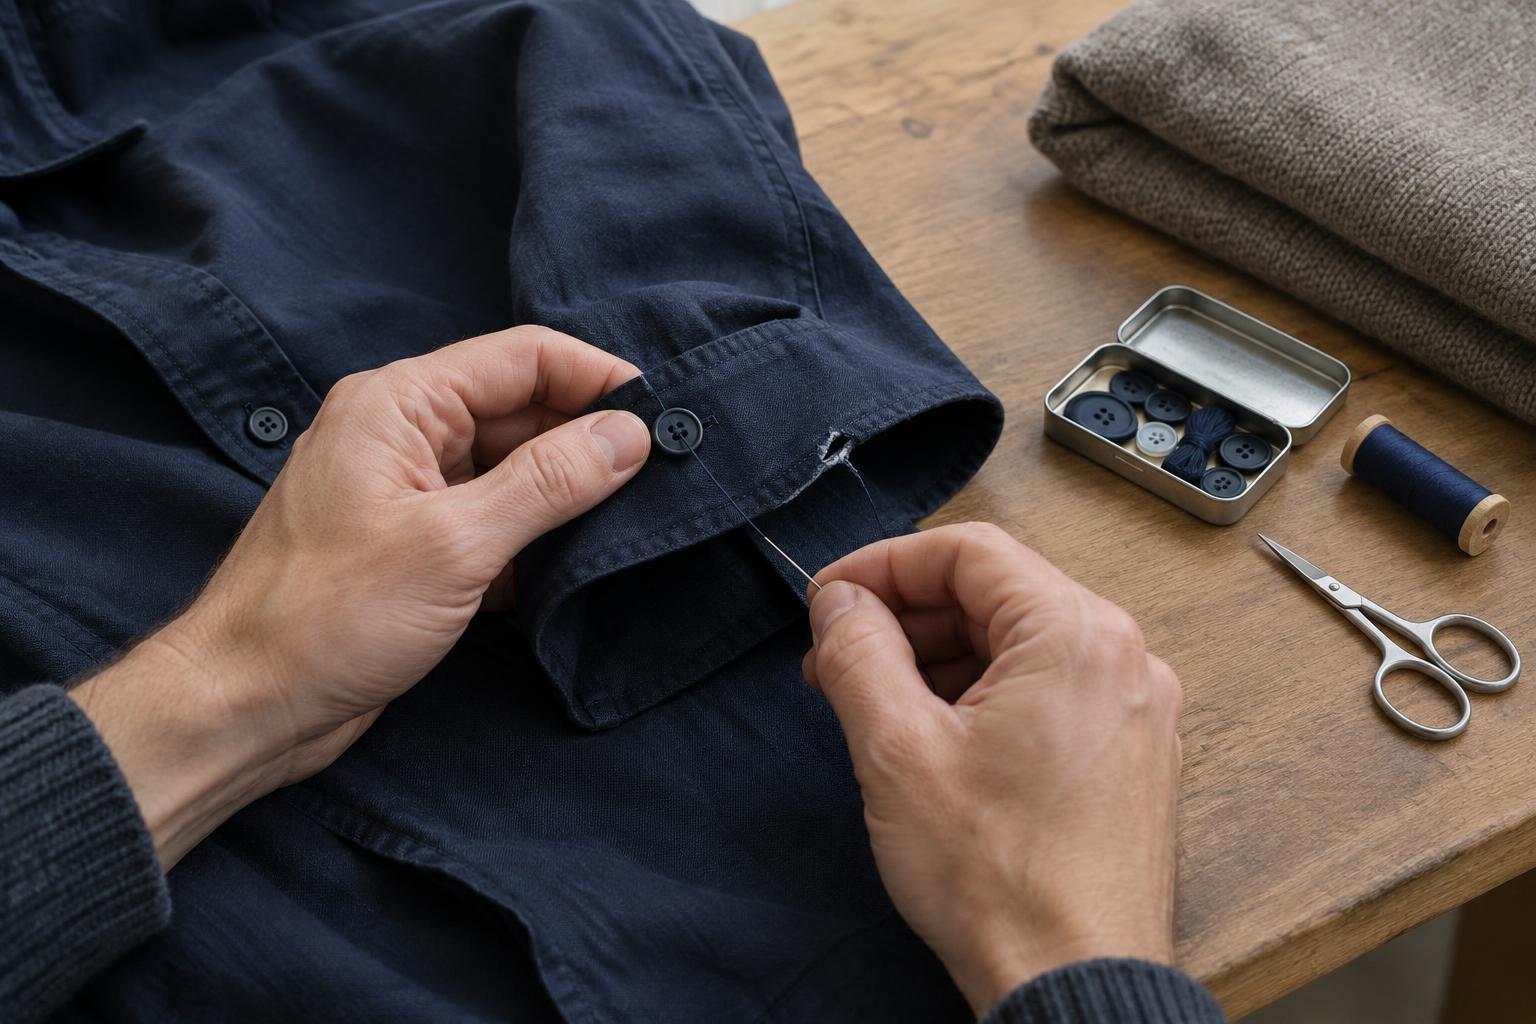
Gather a small repair kit and inspect the damage
You can handle many minor repairs with a hand-sewing needle, thread, small scissors, pins and a spare button. A thimble can help with thicker cloth. Choose thread close to the garment’s color; a slightly darker shade often blends in better than a lighter one. Use a needle fine enough to pass through the fabric without leaving obvious holes, but strong enough for the job.
Before sewing, look at both sides of the damaged area. A button may have pulled away because its threads wore out, or because the cloth beneath it is thinning. An open seam has stitching to follow, while a hole means the fabric itself has torn or worn through. That distinction matters: sewing a hole’s edges together can pucker the cloth or make a tight area even weaker. Clean the garment if needed, let it dry, and press the area gently so you can see how the pieces fit.
Sew on a button that can take everyday use
If the old button is available, reuse it. Otherwise, check for a spare sewn into the garment or choose one that matches the remaining buttons in size and thickness. Remove loose threads without cutting the fabric. Thread the needle, bring the thread ends together and knot them. Position the button where it belongs, using the old stitch marks or the matching buttonhole as a guide.
For a flat button with two or four holes, make a few small anchoring stitches in the fabric, then stitch through the button and fabric several times. Do not pull every stitch tight. A little space between the button and cloth lets the fabric sit under it when fastened, particularly on a jacket or heavier shirt. You can hold a toothpick across the button while stitching to create that space; remove it afterward. If the button has a loop on the back, called a shank, stitch through that loop instead of through holes on the face.
Finish on the inside of the garment with two or three small securing stitches, then trim the thread. Fasten the button to check its placement and tension. If the fabric underneath feels weak, a small reinforcing button on the inside or a patch of suitable fabric may help spread the strain. A button that repeatedly pulls off may also signal that the garment is too tight at that point.
Close an open seam without changing the fit
Turn the garment inside out and align the seam allowances so the original stitching lines meet. Pin the opening if the fabric shifts. Start your repair a little before the gap, where the existing seam is still sound, and end a little beyond it. This keeps the new stitches from relying on loose thread at either end.
A backstitch makes a sturdy hand-sewn seam. Bring the needle up through both layers, take a short stitch backward along the seam line, then bring the needle up a similar distance ahead. Repeat with small, even stitches, following the original seam rather than taking in extra fabric. Avoid pulling so hard that the seam gathers. Secure the thread with a few small stitches on the inside, trim it, and turn the garment right side out to check that it lies flat. If the opening is in a lining, keep the outer fabric out of the way so you do not accidentally sew the layers together.
Mend a small hole according to the fabric
For a small split in a woven fabric, work from the inside and bring the edges together without overlapping them. Tiny stitches across the split may be enough if the surrounding cloth is strong. For a hole with missing or frayed fabric, place a patch behind it instead of pulling the edges together. Choose a patch that extends beyond the weak area, turn under its raw edges if practical, and sew around it with small stitches. Test placement before sewing, especially on visible areas.
Knits need a gentler approach because their loops can unravel and the fabric stretches. Use small stitches to catch intact loops around a tiny hole, without drawing them so tight that the surface puckers. A larger hole or one in a high-stretch area may need a flexible patch or a specialist repair. Whatever the fabric, check the result from the outside before tying off: a discreet repair that lets the garment move normally is more useful than a perfectly closed hole under too much tension.
Know when to stop and how to prevent the next repair
Hand repairs work best when the surrounding material is sound. Consider a tailor for a prominent tear, a damaged suit jacket, a seam under heavy strain or a hole in delicate fabric. If cloth has worn thin across a broad area, stitches alone are unlikely to hold for long. A visible patch may still be a good choice for casual clothes, but it is worth deciding how you want the finished garment to look before you begin.
After any repair, wear the garment briefly and check for pulling. Keep spare buttons and a short length of matching thread with your sewing kit. When you notice a loose button or a seam beginning to open, fixing it early usually gives you more intact fabric to work with—and a better chance of returning a favorite piece to regular use.